
Content:
- Time for a quad
- Versions
- Features
- Dimensions
- My setup
- Testing the quad and the screen
- 2 axis gimbal from e-bay
- Testing the gimbal
- Replacing the lens of SJ4000
- 3 axis GoodLuckBuy gimbal with storm32 controller
- Storm 32 controller
- Controlling Pan and Tilt
Time for a quad :)
|
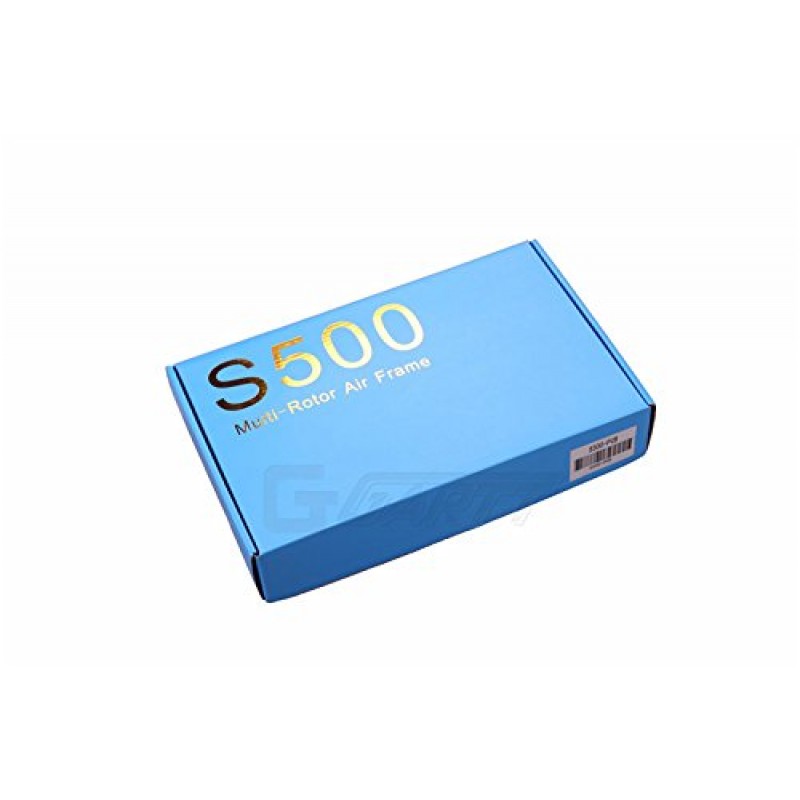
I wanted to purchase a middle sized quad. It was hard to choose because of the large variety of quads in today's market, but finally i decided for the S500 frame from Hobbyking. I was considering Rotorbits frame as well suggested by a friend of mine George, but the S500 had a better design in my opinion whereas the Rotorbits frame was for about 100 grams lighter. I wanted to use the quad for recording videos and take shots, so i wanted it to be able to carry a brushless gimbal and an SJ4000 camera. That means a lot of FPV gear. There were to types of S500 quads:
a) The PCB version b) Non-PCB version Even though i was planning on purchasing a 4in1 ESC, i still thought it will be a good idea to have the PCB version, maybe for later changes. |
|
There are two versions
PCB Version
|
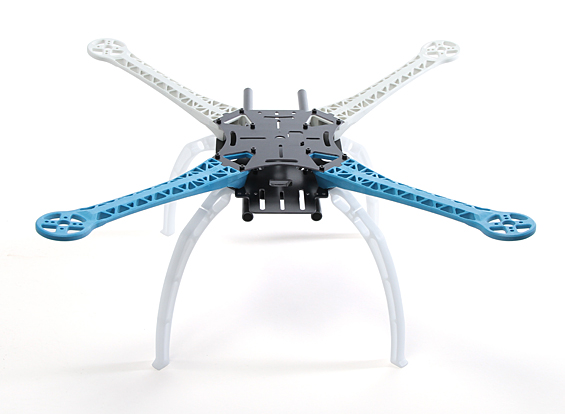
Non PCB Version
|
|
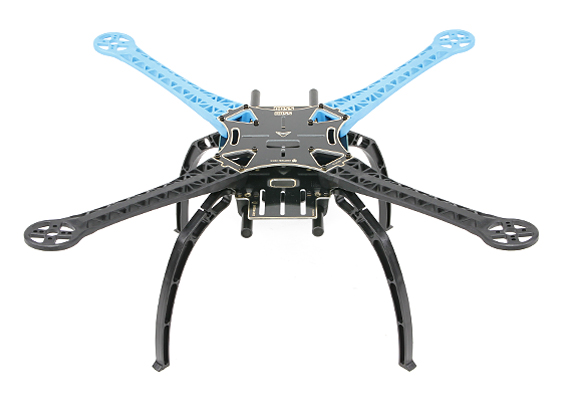
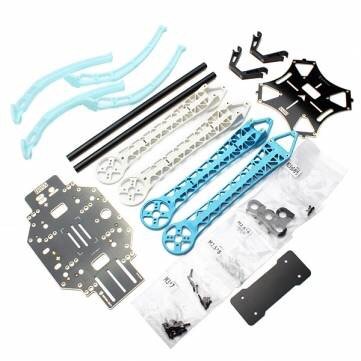
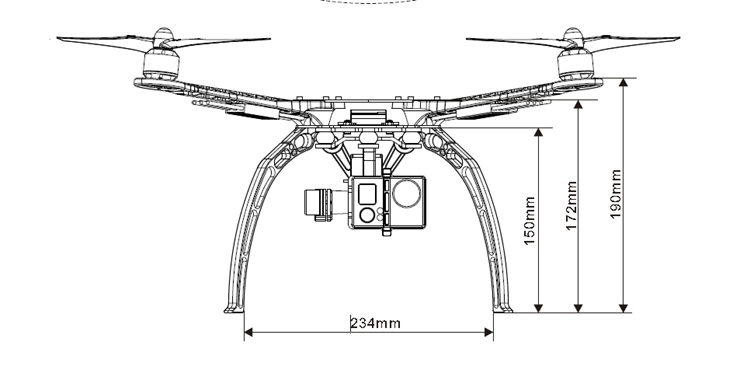
Features: Built from quality glass fiber and polyamide nylon
• Pre-threaded brass sleeves for all frame bolts • Locating tabs for arms • Colored arms for orientation to help you to keep flying in the right direction • Integrated PCB connections for direct soldering of your ESCs • Easy assembly Specs: Motor centers: 480mm Height: 170mm Weight: 405g (frame only) Motor Mount Bolt Holes: 16~19~25mm According to Hobbyking these are the recommended parts: Required: 4 x 28mm 800~1000KV motors 4 x 18~30A speed controllers 4 x 9x4.7~10x5 props 1 x HobbyKing® multi-rotor control board 1 x 2200mah 3S 11.1V to LiPoly battery or more. |
Dimensions
|
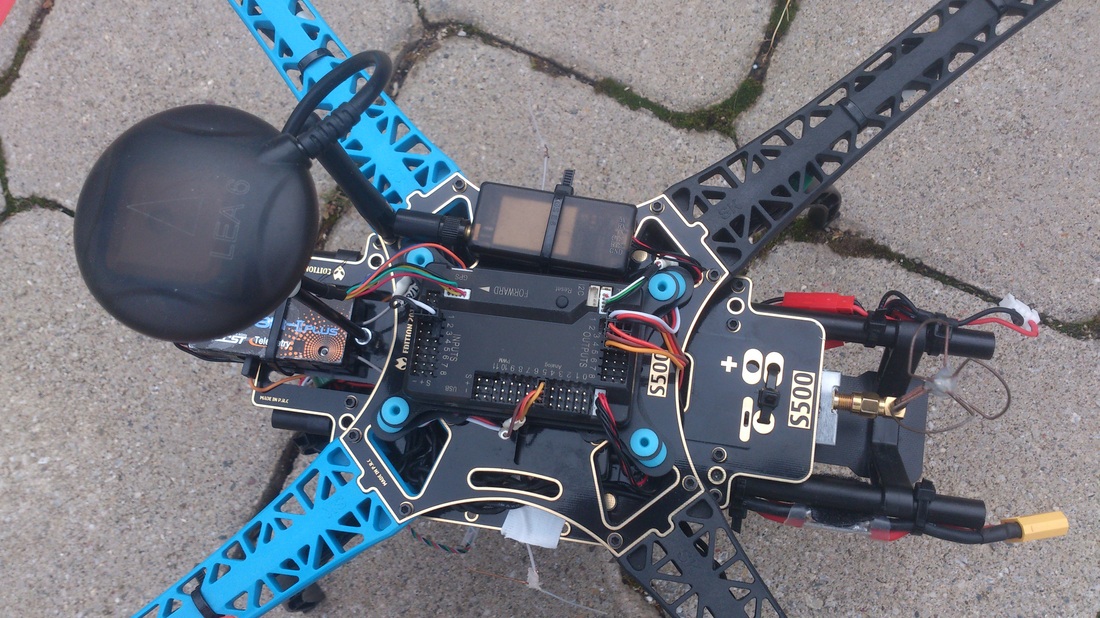
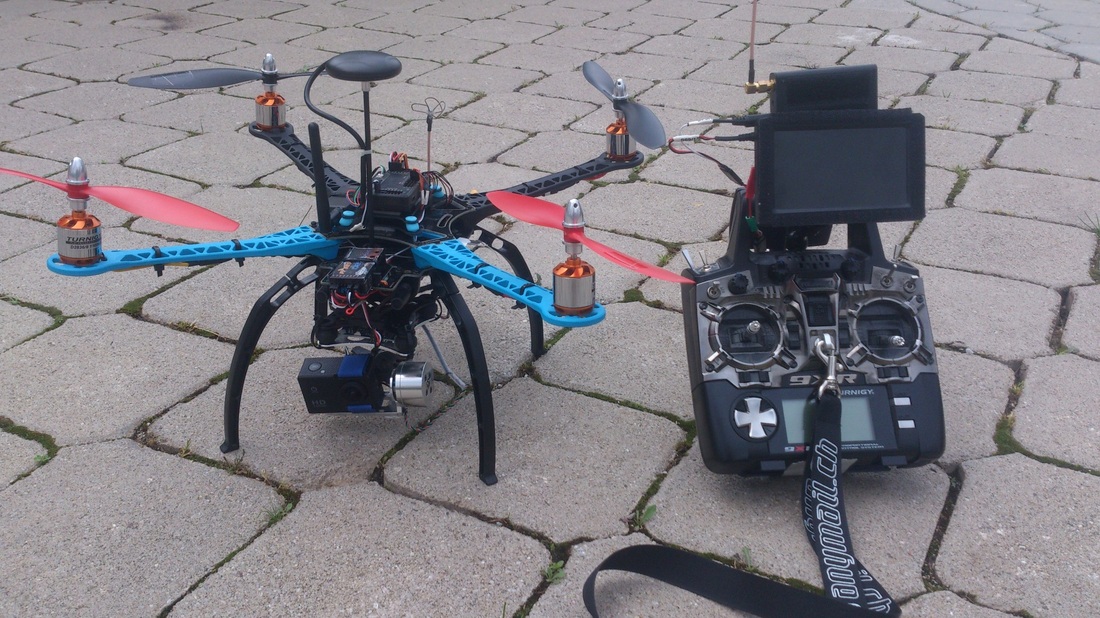
My setupFrame: S500 from Hobbyking
Motors: Turnigy D2836/8 1100kv ESC: Q-Brain 4x25A Props: 10x4.5 SF Props FC: HKPilot Mega 2.7 Master Set Radio: Turnigy 9XR (with Telemetry mod, Megasound9X mod and 7db antenna). TX/RX: Frsky DF Combo VTX/VRX: SkyZone TS353 5.8 Ghz 400mw / RC805 5.8GHZ Camera: SJ4000 Power: Multistar 5200 mAh 2 x UBEC 5V 3A (max 5A): Goggle: Modified Quanum DIY Goggle. APM shock absorber: From ebay Power distributor: JST-XH to JST Total Weight: around 1.6 - 1.7 Kg. |
|
|
|
|

|
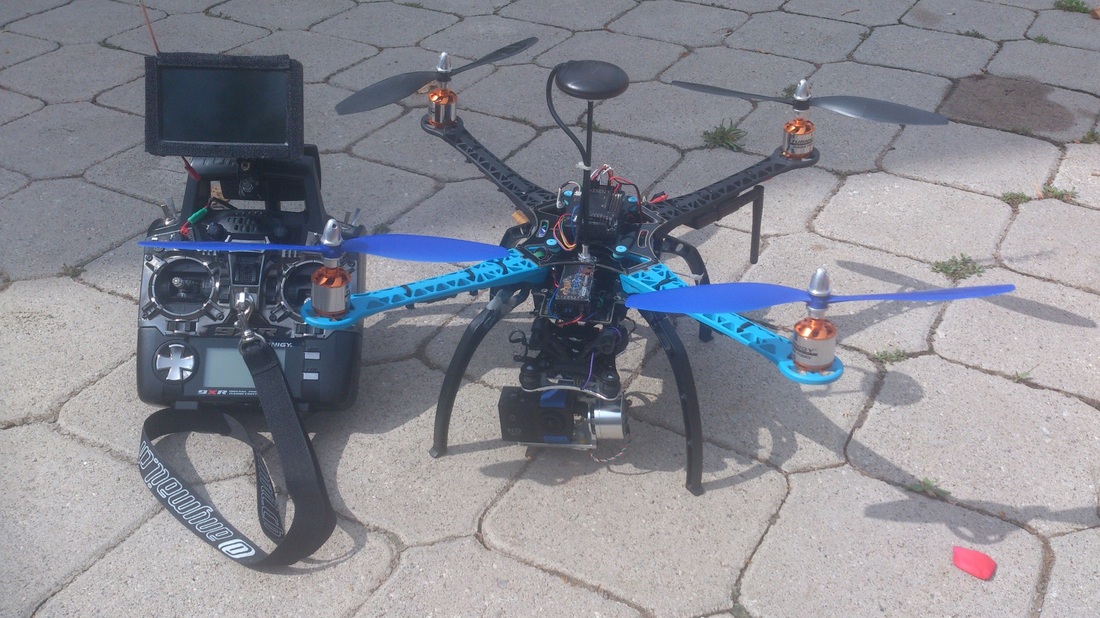
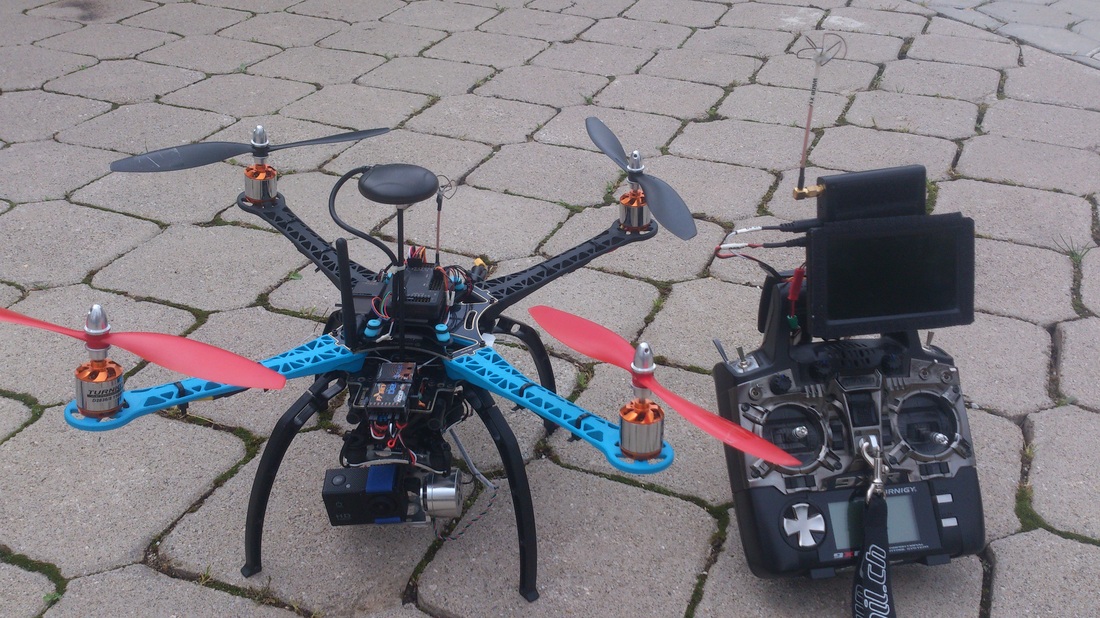
Testing the quad and the screen
|
In the video on the right side you can see how good the quad performs. I didn't have the gimbal installed at that time, but a 700 tv line surveillance camera for FPV. I have mounted the Quanum DIY FPV google and the R805 receiver to the Turnigy 9XR radio and used the Radio's battery to power everything at the same time. The system was working great. The only problem - the flight time. Using a 3S Zippy 2650 mah battery, i was getting about 5 minutes flight time. It was time to purchase a brushless gimbal so i decided for a Goodluckbuy 2 axis gimbal which was fairly cheap $49 including shipping.
|
|
|
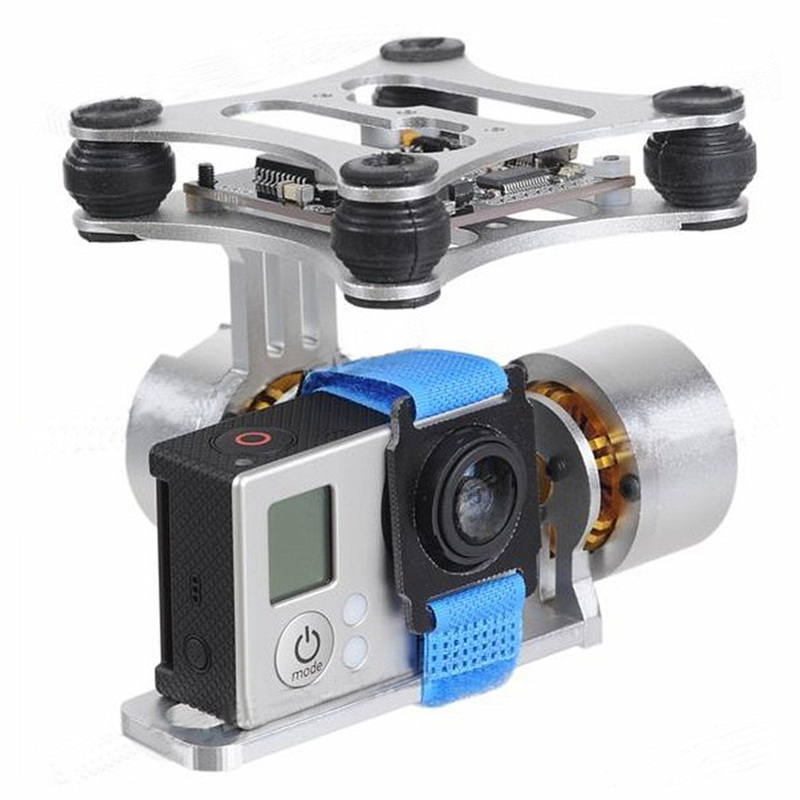
2 axis gimbal from ebayFeatures:
- Simple structure and light weight, CNC aluminum alloy structure - Brushless motor direct drive - With anti-vibration rubber balls,easy to adjust - Compatible with Gopro 3,2,1 - with 2pcs 2208 motors and V3 gimbal controller,sensor - with motor protector which can help heat dissipation - Gimbal weight(not include gopro): 205g Package includes: - 1 x Aluminum gimbal installed 2 motors (we have two colors :silver or black,we will ship it randomly) - 1 x Gimbal controller - 1 x Sensor - Wiring |
Testing the gimbal
|
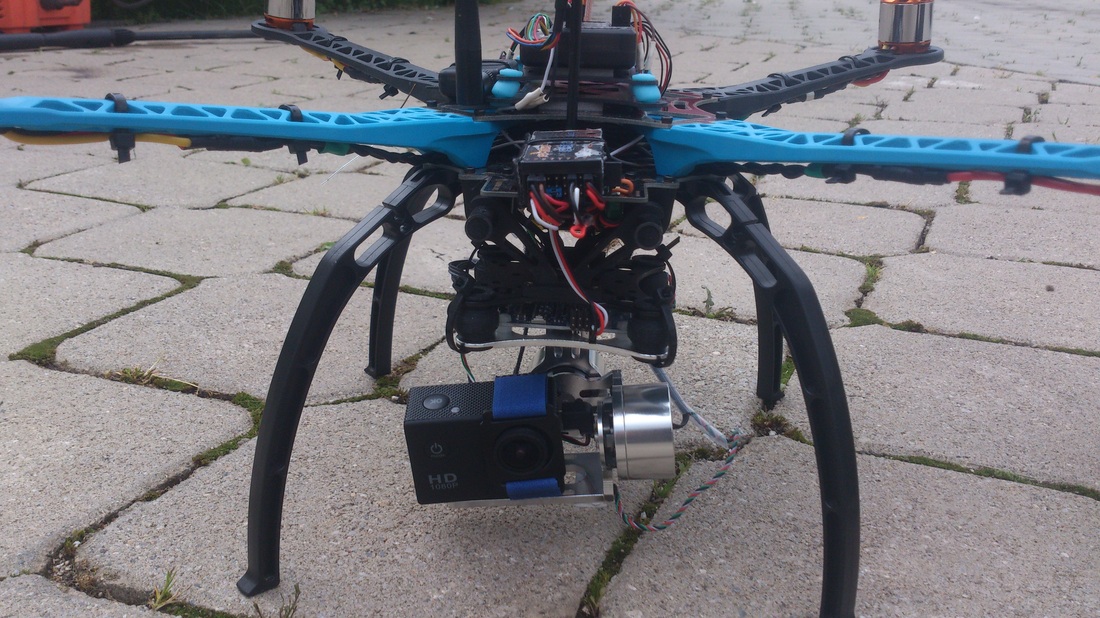
After the gimbal arrived, everything was plug and play. I just mounted it on the quad and powered it on. The gimbal comes with a 3S balance lead plug, but since i was planning to connect multiple items to the same Lipo, i cut the balance lead and soldered a JST connector and also ordered the JST-XH to JST power distribution cable.
|
|
|
|
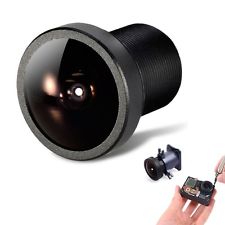
You can see how the gimbal performs in the videos here. I was happy with it. The videos taken were smooth and not bad considering the price of the gimbal. Also i was happy with the SJ4000 camera. Considering the price, the camera was great for the S500. The original recordings are of course even better but due to editing and conversion, you get quality loss but still I was happy with the overall setup. While transporting the quad in the trunk of the car, with the camera always mounted in place, I had scratched the lens of the camera, probably from something hard laying around in the trunk. The lens is made of glass and in the videos below you can see in the center of the screen there is a kind of a mark which looks like a fingerprint. So I had to replace the lens.
|
|
|
|
|
Replacing the lense |
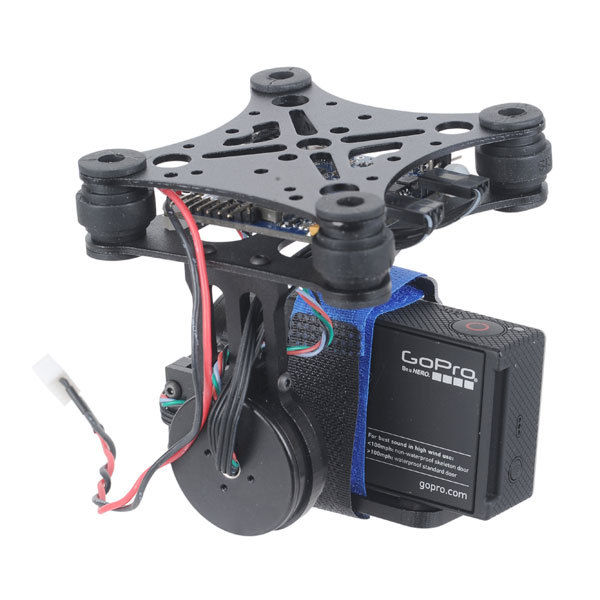
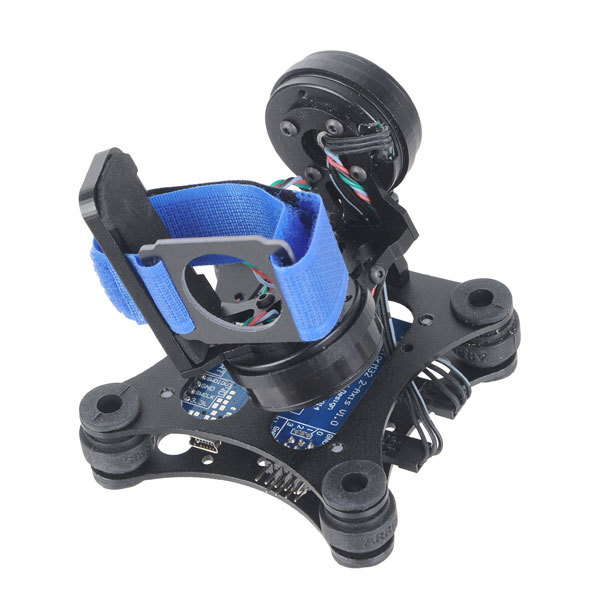
3-axis gimbal from GLB with Storm32 board
|
It was time to upgrade to a 3 - axis gimbal. There are a lot of options out there in the market with different performances, weights and prices. I wanted something that would satisfy all three proportionally. I think i made a good decision.
Features: - Simple structure and light weight,CNC aluminum alloy structure - Brushless motor direct drive - With anti-vibration rubber balls,easy to adjust - Compatible with Gopro 4 3,2,1 - With 3pcs 2804 160t motor - With 32bit Storm32 firmware gimbal controller, sensor - With motor protector which can help heat dissipation Specification: - Power supply: 9-15V(3-4S) - Drive current: Max.1.5A - Height: 9.5cm - Color: Black Package included: - 1 x Aluminum gimbal installed 3 motors - 1 x 32bit Storm32 Gimbal controller - 1 x Sensor - Wiring |

|
|
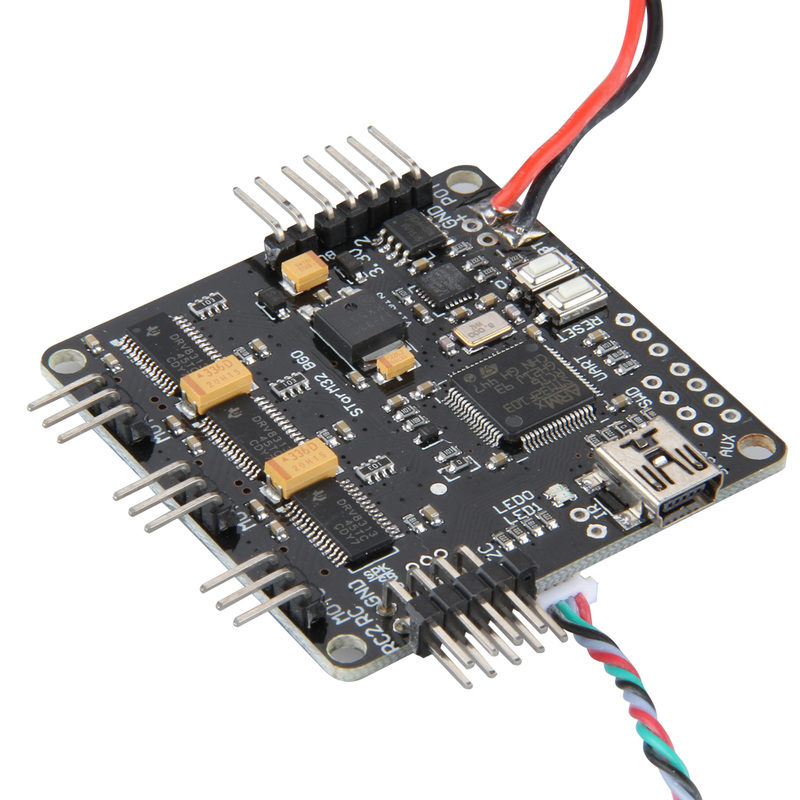
Storm32 Gimbal Controller Features:
- The controller can be used for building high-quality 3-axis camera stabilizing systems which can be mounted to UAV and for building handheld camera stabilizers. - This version of the controller is our new direction in the development of the stabilizing solutions. - It will replace the previous 8-bit version of the SimpleBGC controller, keeping 100% back-compatibility, but adding the new fuctionality. - 32-bit MCU — ARM Cortex M4. - Effectively calculates the complex tasks for 3-axis stabilization,700 times/seconds gyro caculates - Allows camera control with the RC or analog joystick. - Use several switchable profiles for different modes of operation - Control Pitch or roll by PWM or receiver,supports variety of RC protocols: PWM, Sum-PPM, spektrum and s-bus. - Use IMU1 and on board IMU2 dual sensor module,lock YAW accuratly, stable performance - Support follow mode,lock mode,absolute mode or speed mode |
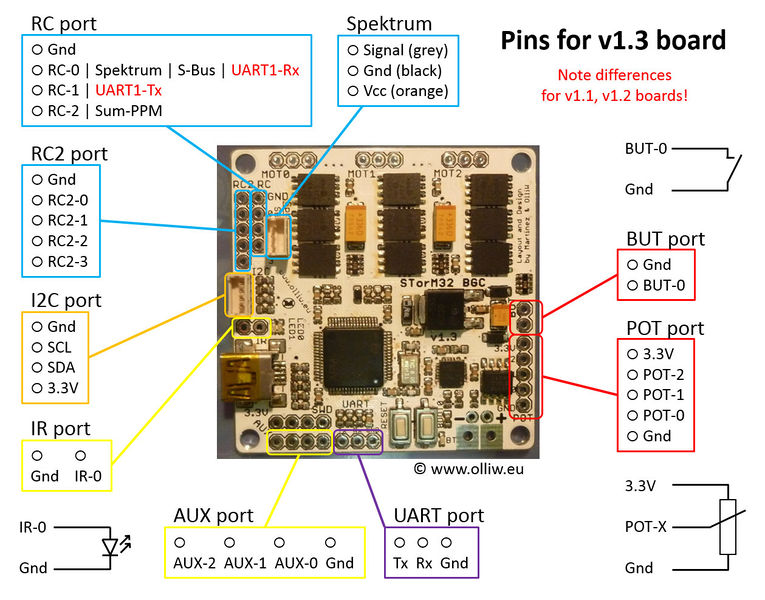
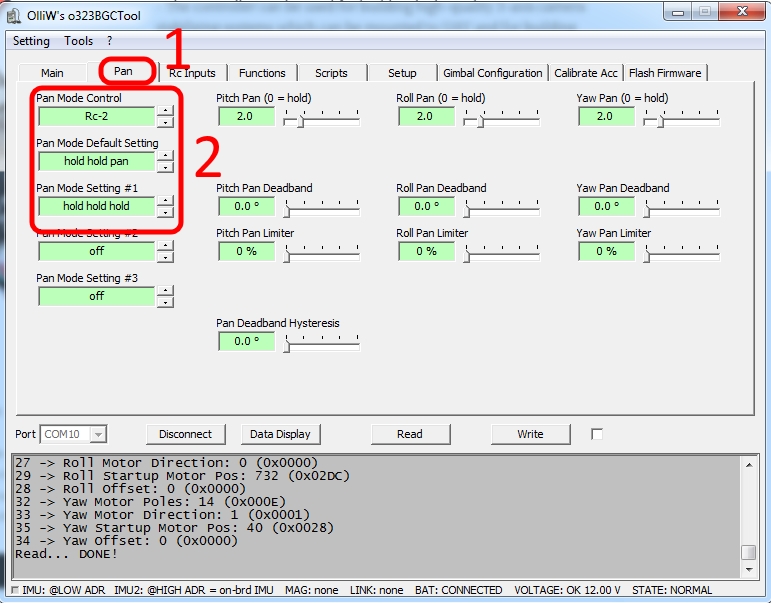
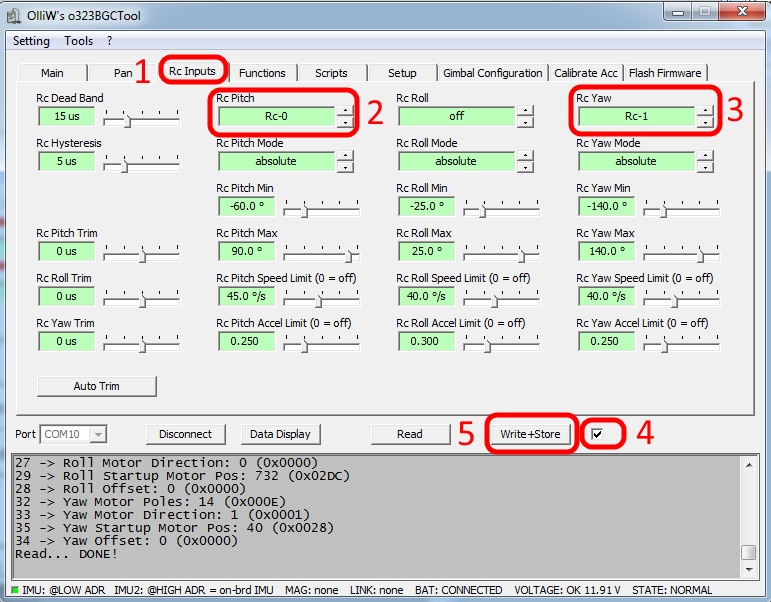
Controlling Pan and Tilt
To control the pitch and pan of your camera from your handset, you need to connect two pins of the storm32 board to to two channels of the receiver. First you need to define which pins to use for what action through the software and then connect those pins to the receiver and assign two channels on your handset.
|
|
|
Flash and calibrate the gimbal according to the above video tutorials by Alex Curtis.
|
|
|
|
|
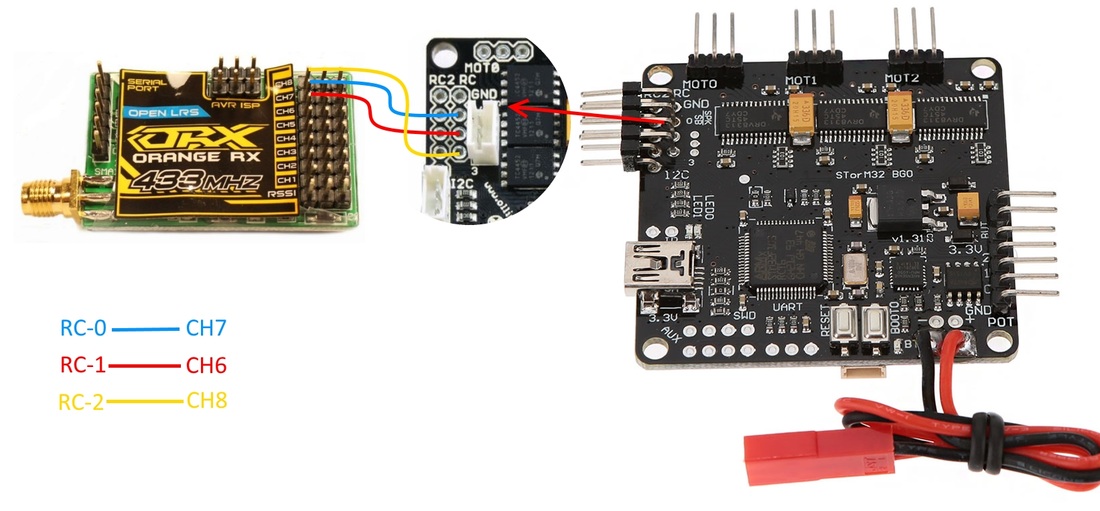
In your receiver connect pins like following
|
|
|
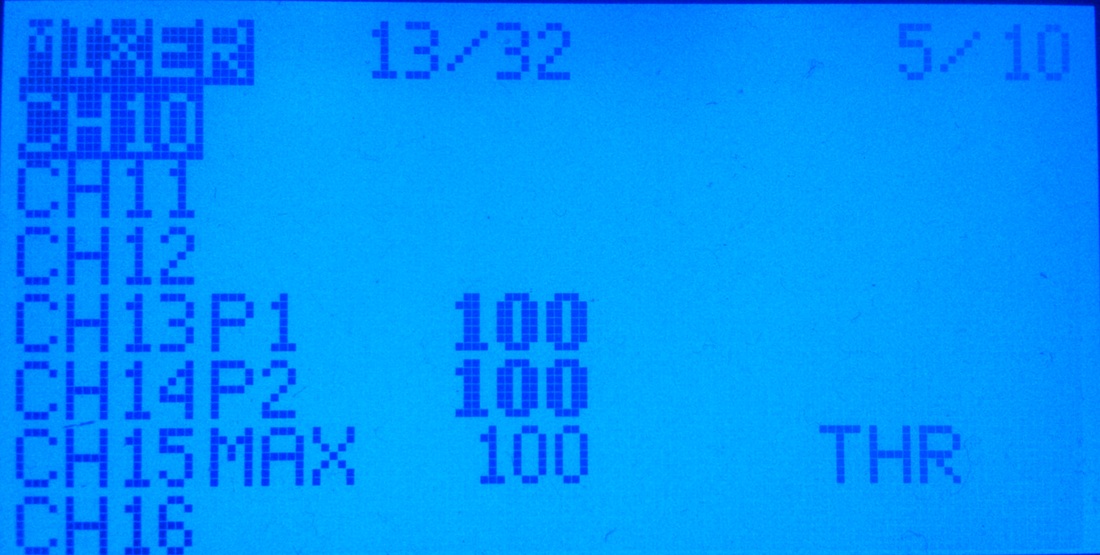
In your handset assign the channels:
As you can see from the picture i have used channels 13 to 15 because i'm using 16 channels on my orange rx receiver. |
